Published on 9/21/2026
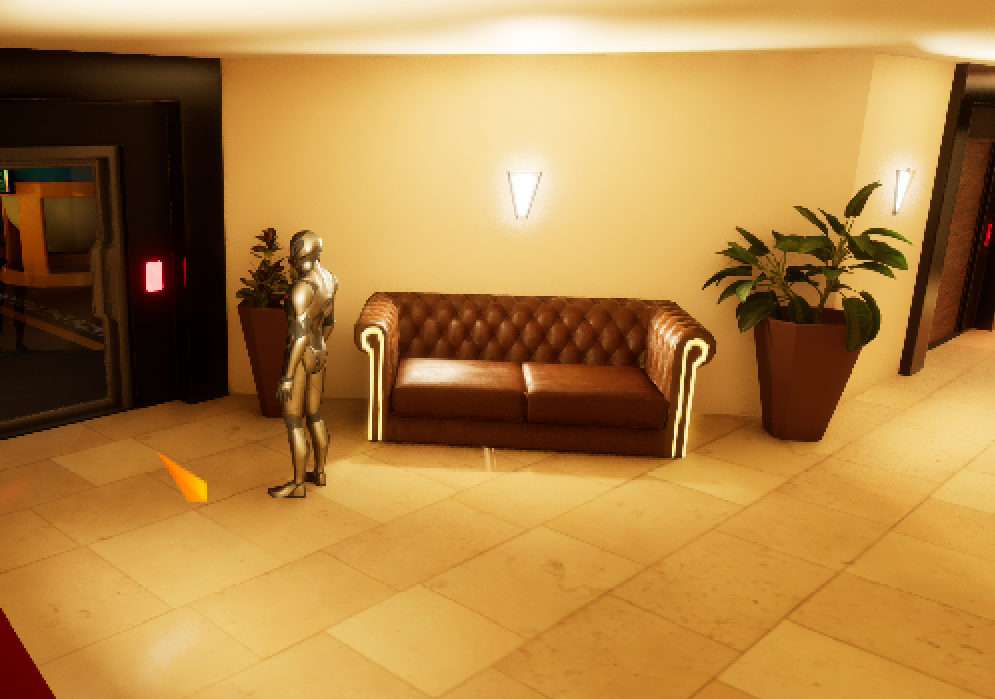
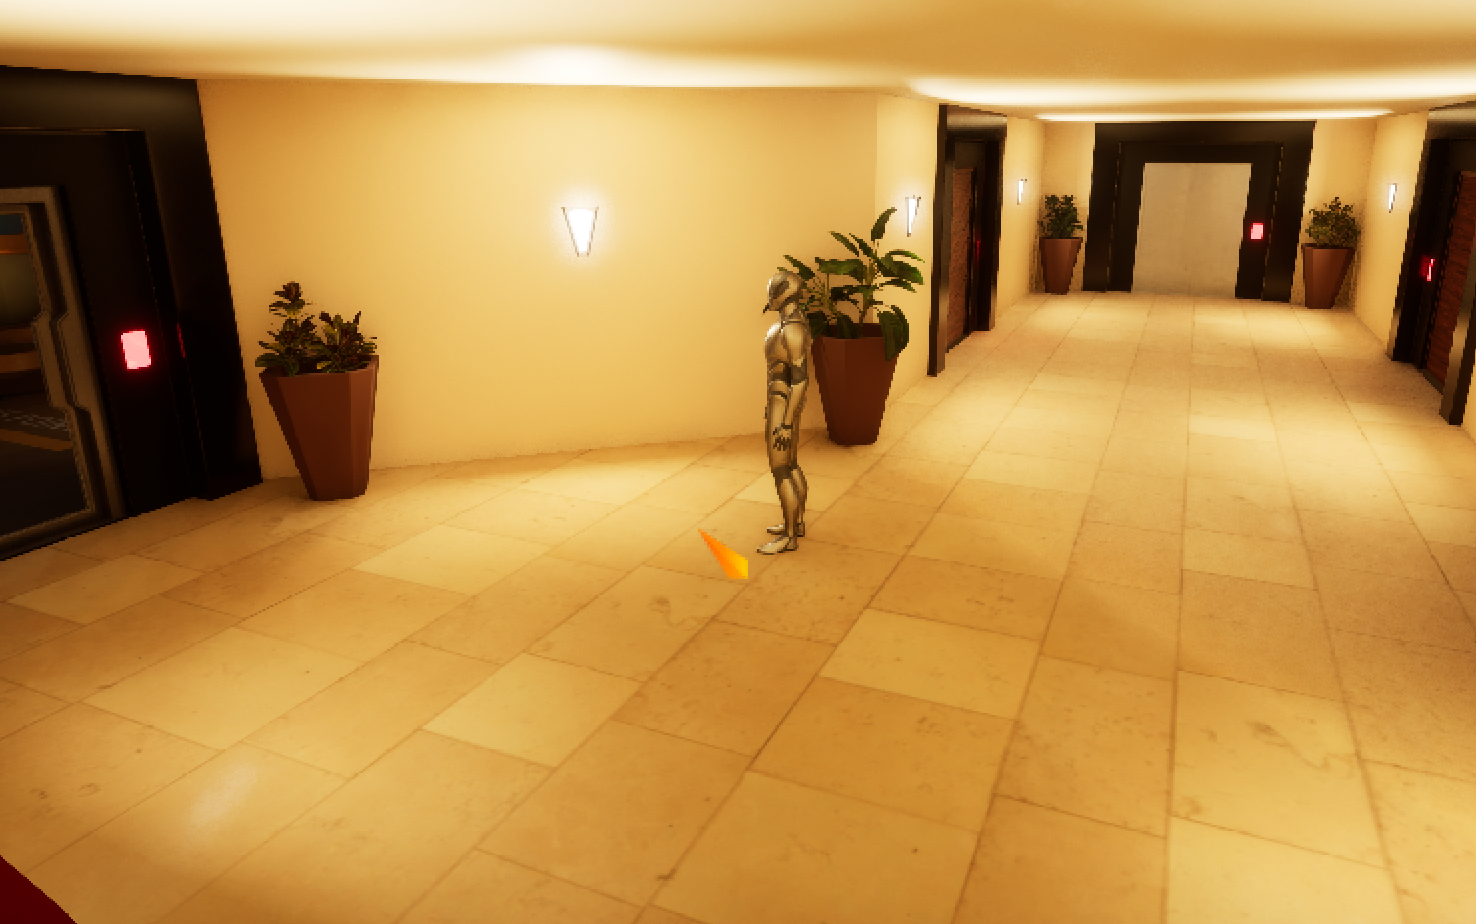
Towards the end of ActI (of my unannounced game project) there is this private foyer area. It's supposed to be way upmarket, and while I'm no interior designer, I feel like this area should reflect mostly minimalism, but set the vibe through quality materials and warm colors. It's not an area the residents here would care for, instead simply a shared through-fare to the elevator or private car access. But while I feel I got the lighting and vibe where I wanted it, it still missed a really good, quality prop to round it out. And I mean here both a quality interior design decision, and a quality 3D game asset. I set out to make a Chesterfield.
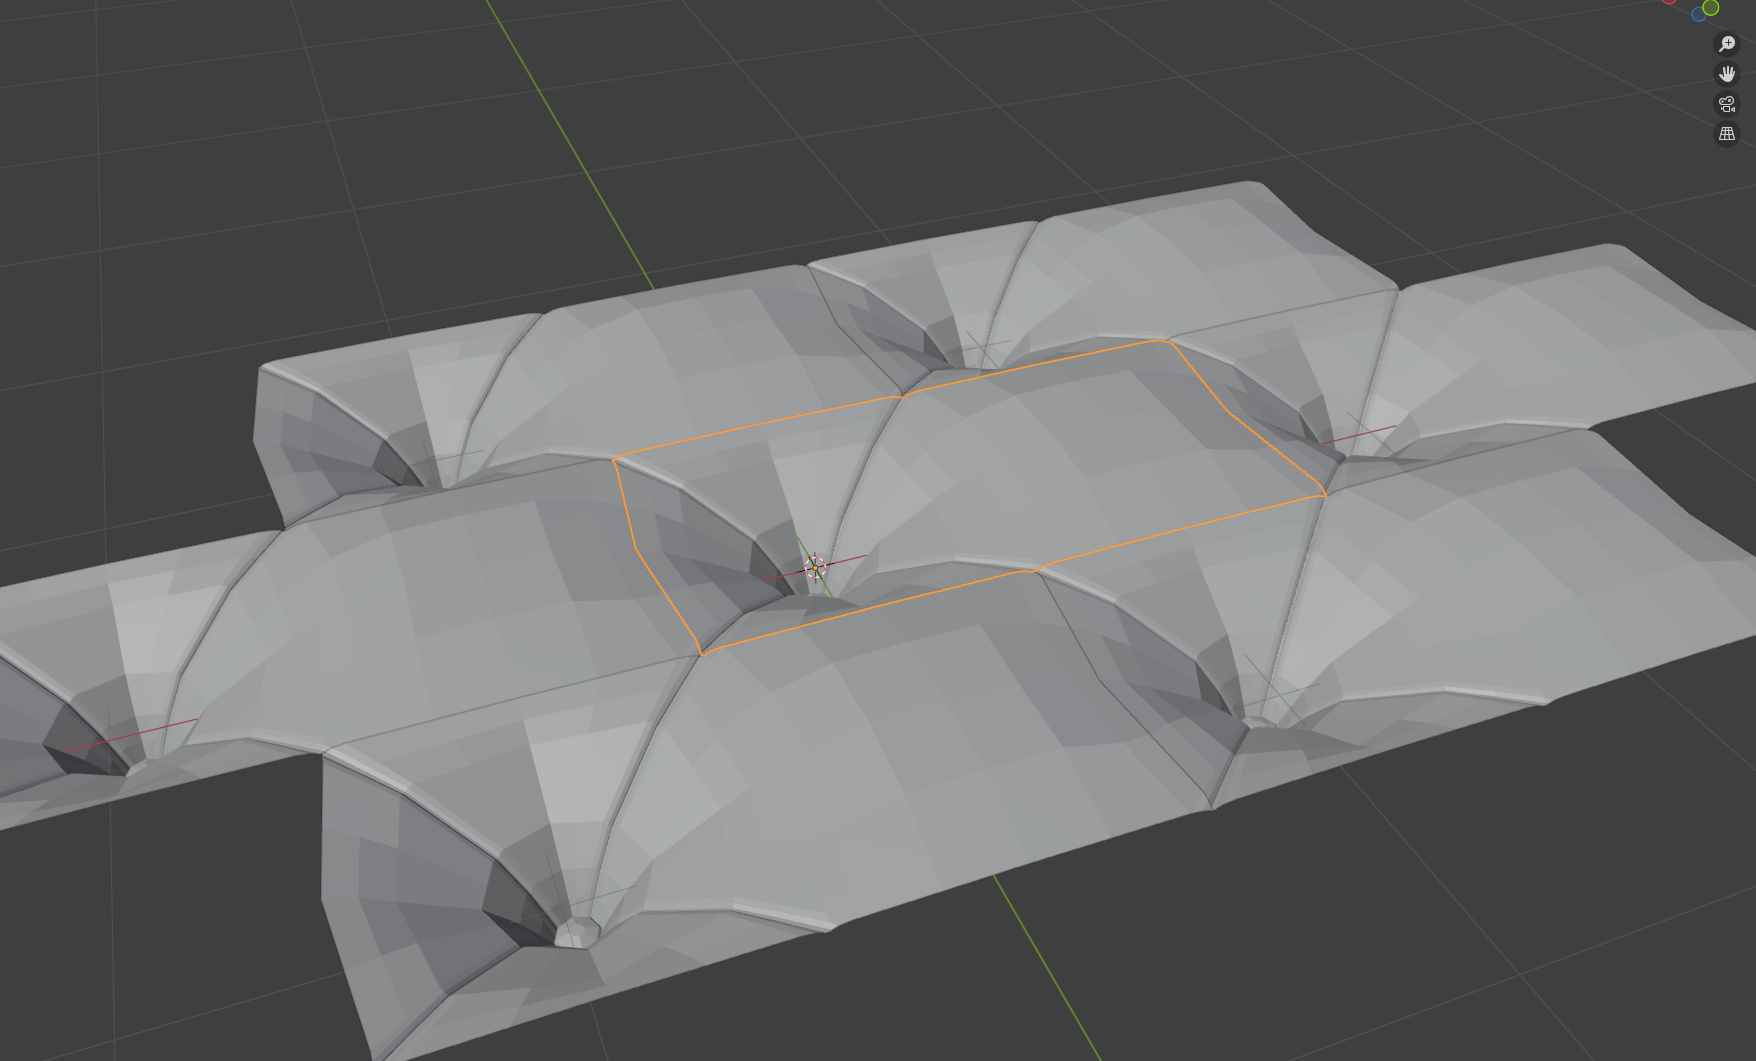
The challenge on this model is the fold and button detail in the back and arm rests. It is also a repeating pattern for the most part, which was key to producing this within a reasonable amount of time and effort for a solo dev. So that's where I started; a tile-able section which contains one button and one bulge, with four folds that connect to the neighbors. I did both a higher poly version for the desired sub-division results, and a lower poly version for the in-game model. My initial thought was that I might be able to use a displacement map to push the detail level in game, but I don't have nanite support enabled in my game project and I'm not keen to turn it on, but also a quick test showed that the effect is very muted. In fact, with the level of depth required for where the buttons are, compared to the bulges, I feel like I'd have to create a POM material to really go where I wanted. And ultimately I'm not sure if the tessellation of the model would have been successful on this pattern. So I just made the low poly version of the tile-able section manually.
These two sections were then tiled in an offset fashion using geometry nodes to create a plane consisting of my button-bulge sections. The same graph was used to generate both the low and high poly versions by just swapping out the instanced node it uses.
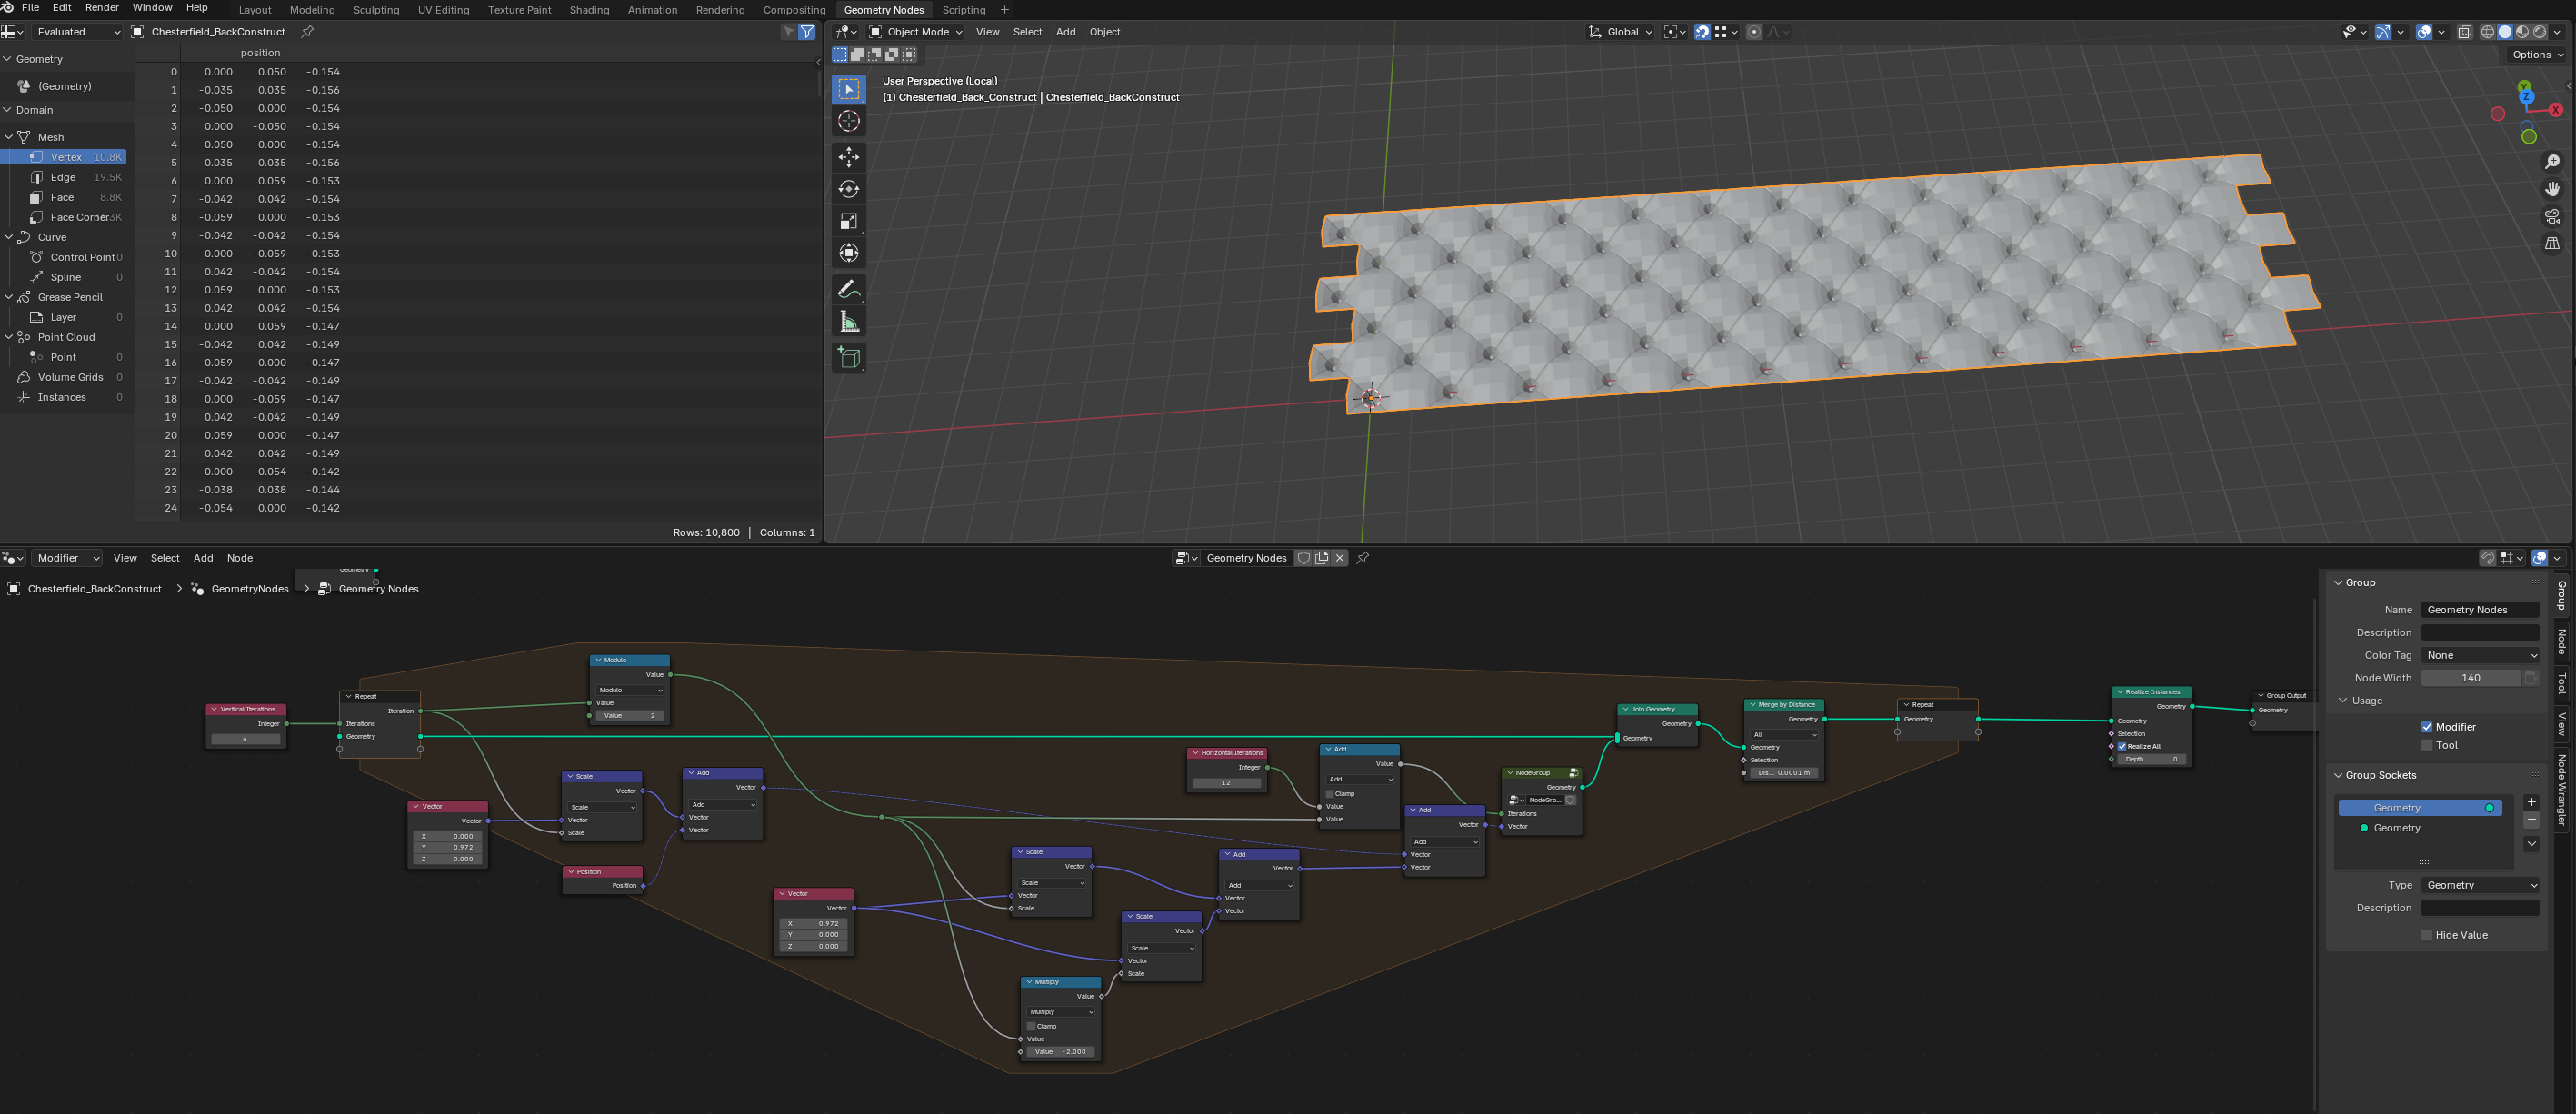
From here I used two different curves to shape the planes for the back and arm rests. Everything up to this point could be done with a non-destructive workflow.
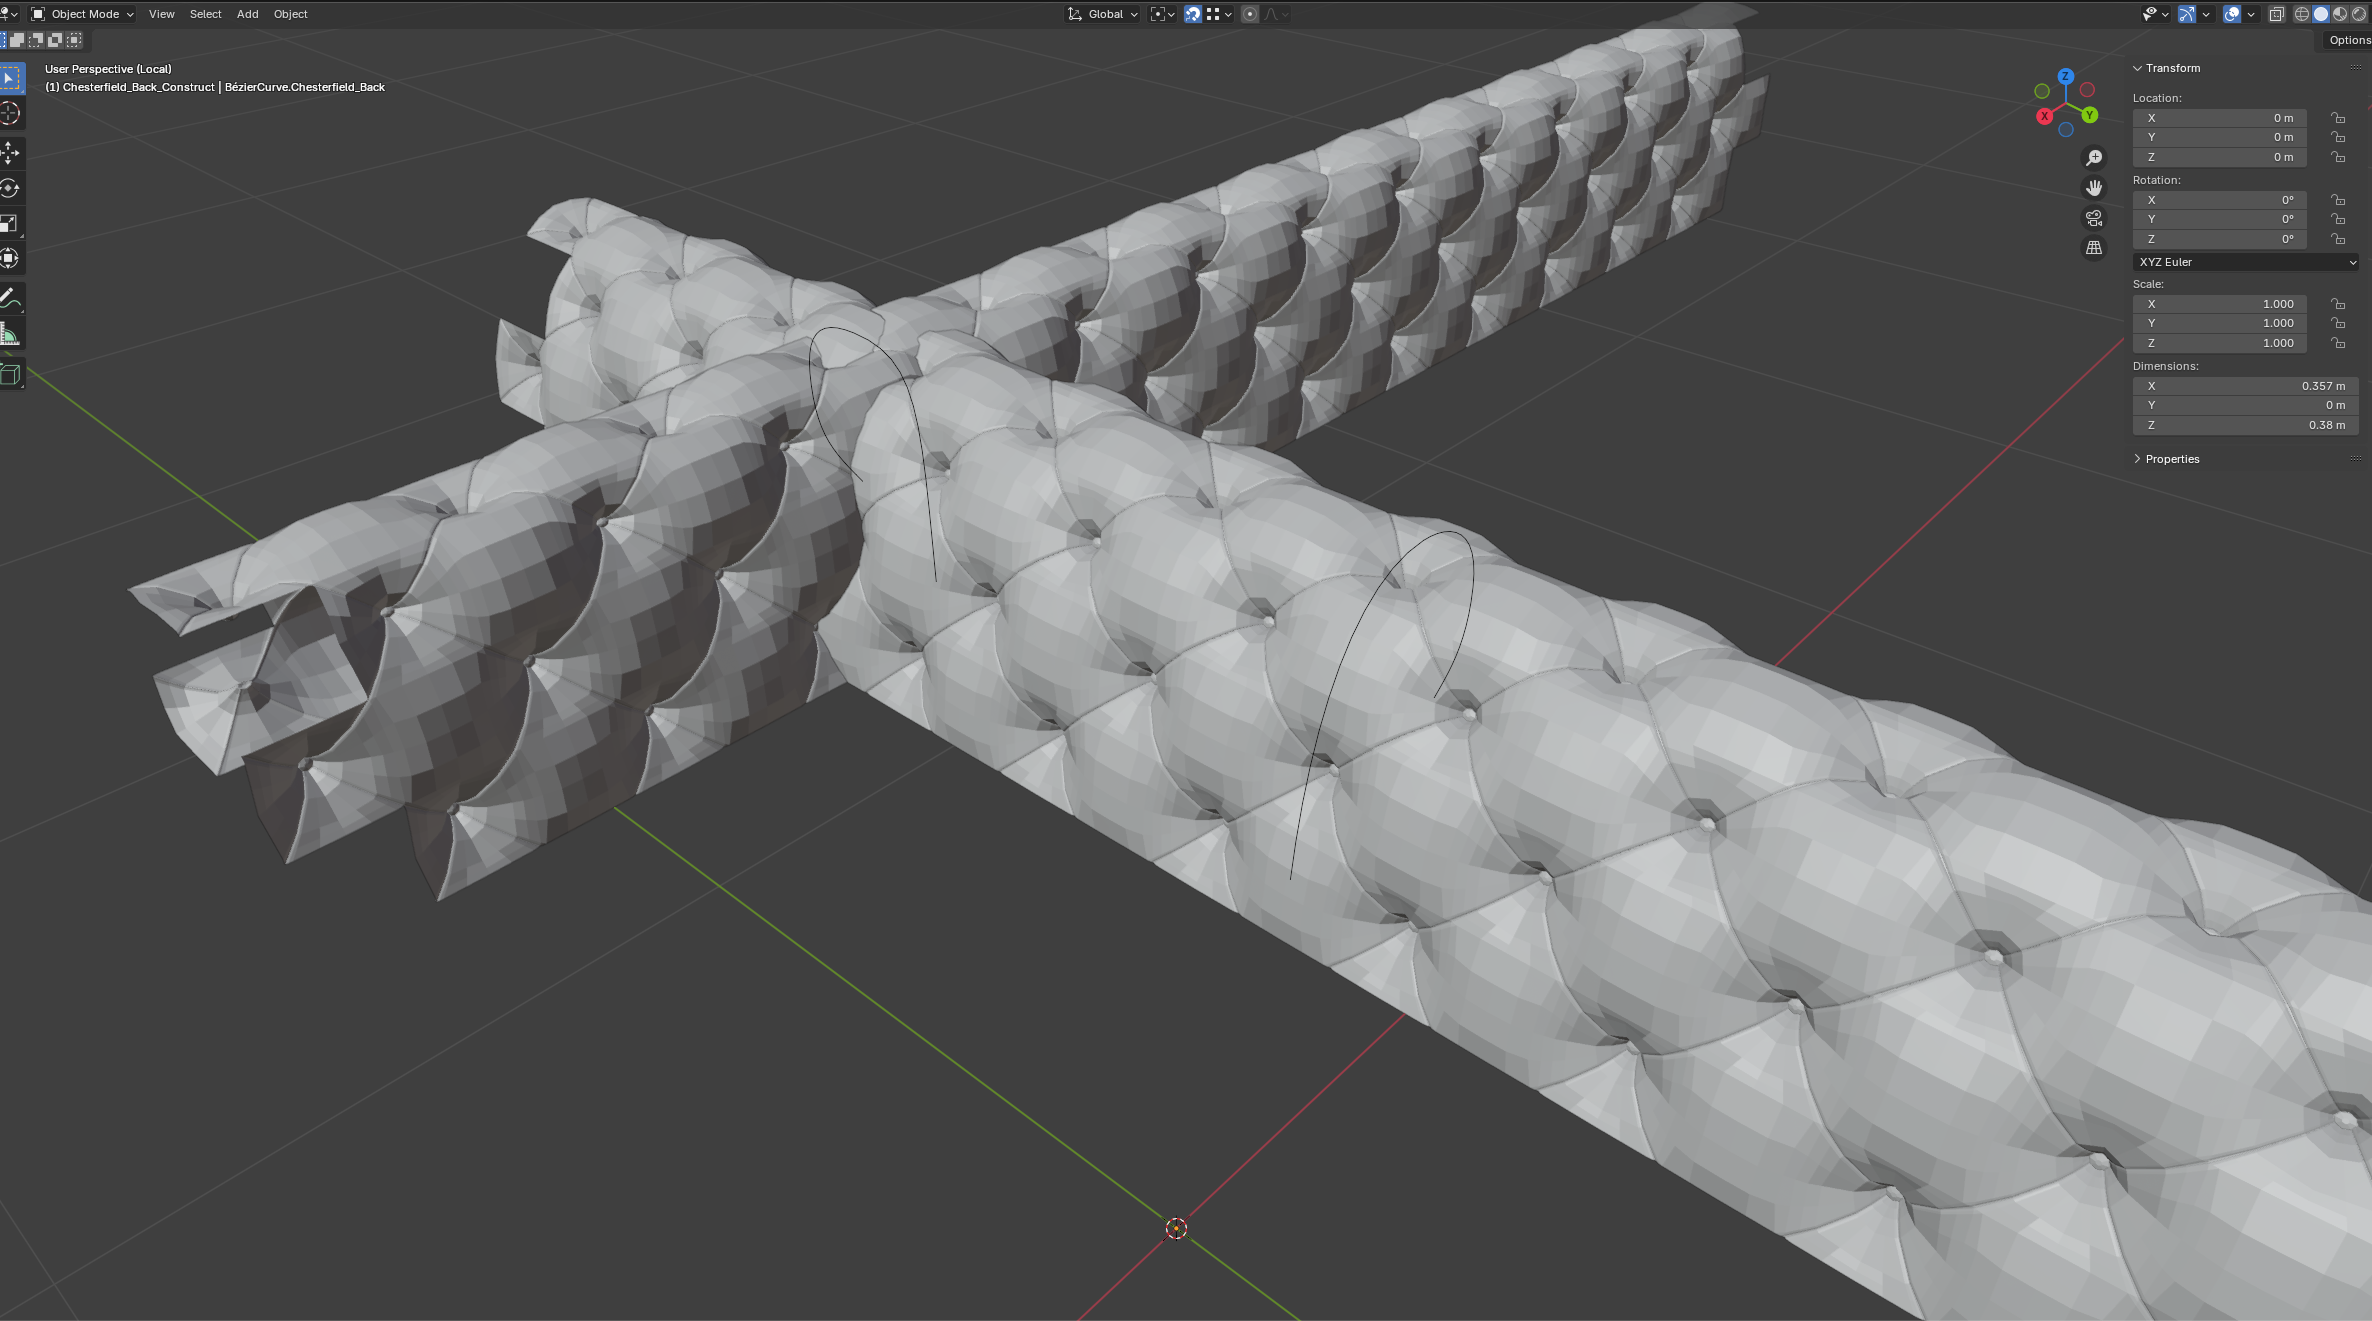
All that was left now was to stitch the different parts together and cut off the excess - much like pulling real leather over the frame. This part was destructive, since I was manually editing, joining and merging the meshes. And finally I just extruded from the edges to create the bottom section of the couch.
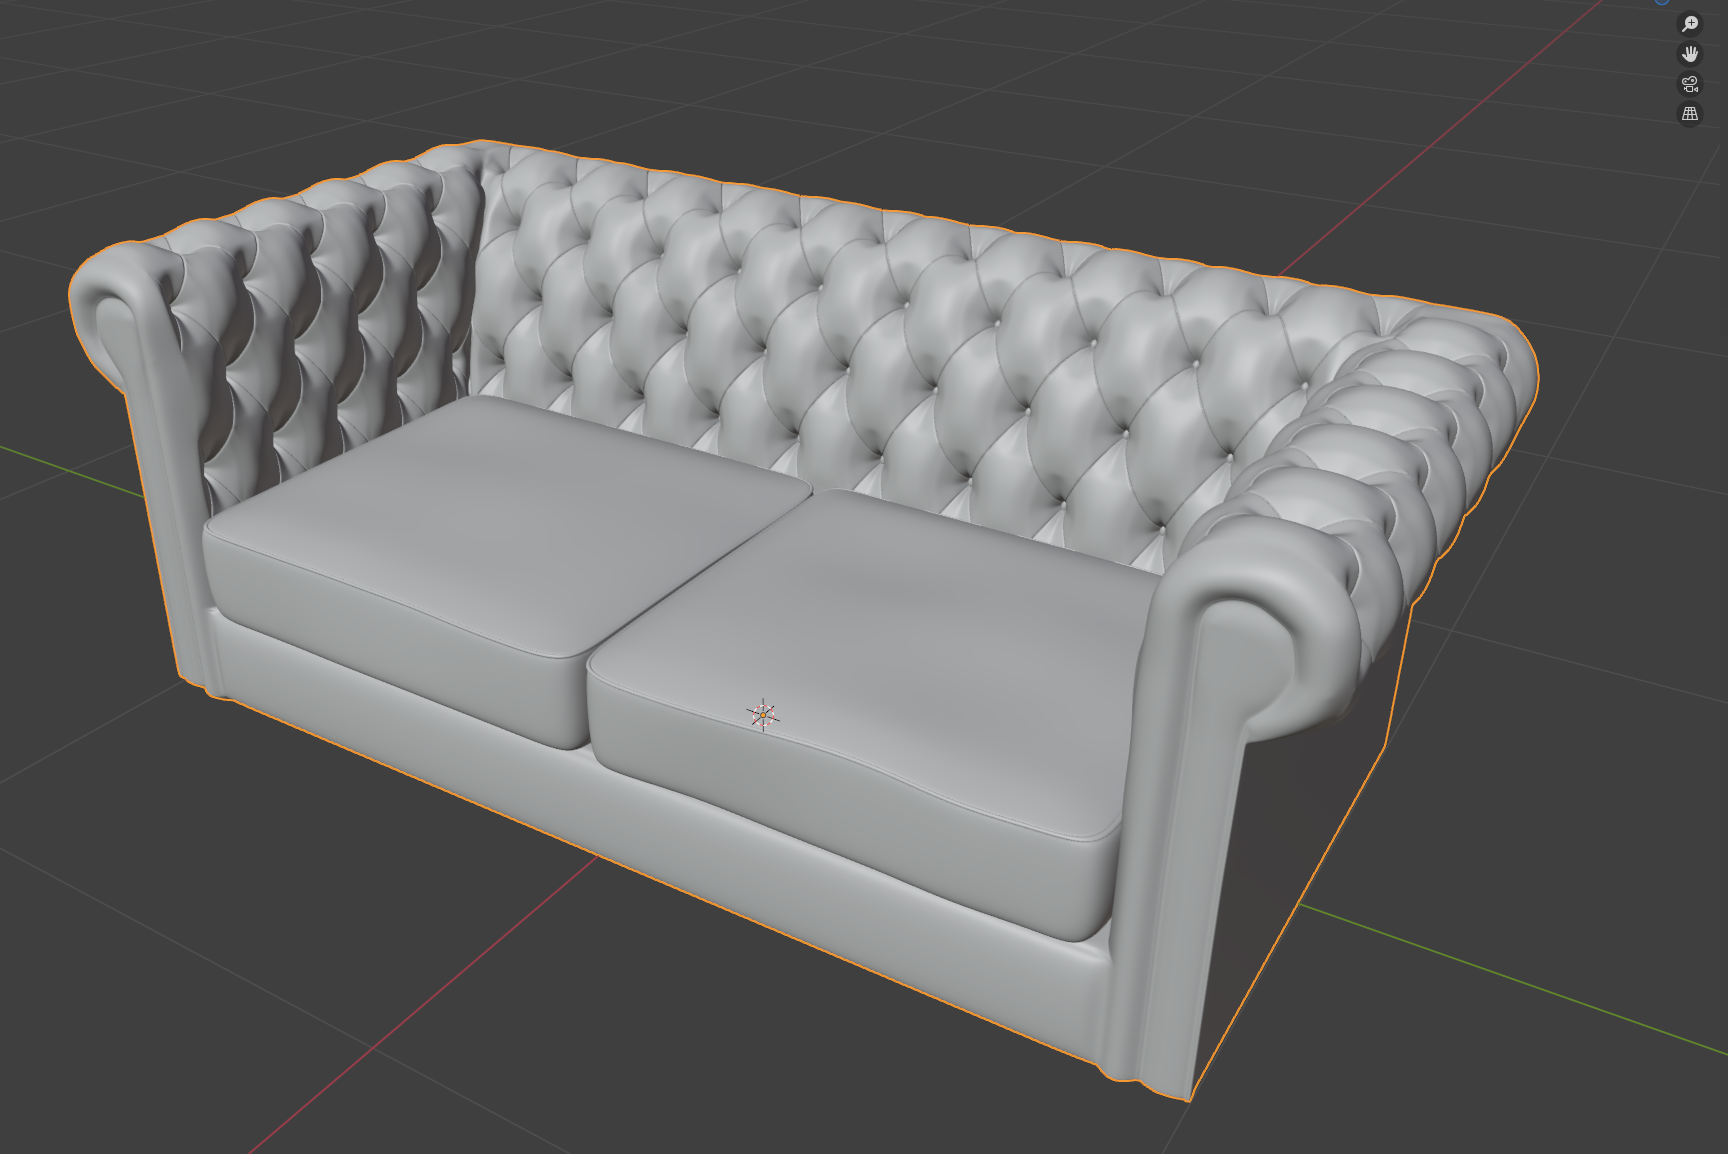
The way this model sits in the scene is pretty close to my vision for it.